Turn your smartphone into a powerful webcam across your favorite video conferencing tools with iVCam – here is how to make it work seamlessly.
As work-from-home setups become increasingly refined, many professionals look beyond their laptop’s built-in webcam for higher-quality video feeds. Enter iVCam, a lightweight software that transforms your phone into a full-fledged webcam for Windows. But how well does it integrate with Zoom, Microsoft Teams, and Skype?
We put iVCam through its paces across the three most-used conferencing apps and compiled everything you need to know to get started – and stay connected.
🎥 What Is iVCam?
iVCam is a popular app that turns your Android or iOS device into a high-definition webcam. The app connects via Wi-Fi or USB and offers features like manual focus, exposure, and real-time resolution changes. Ideal for streamers, online teachers, or anyone tired of grainy laptop cams.
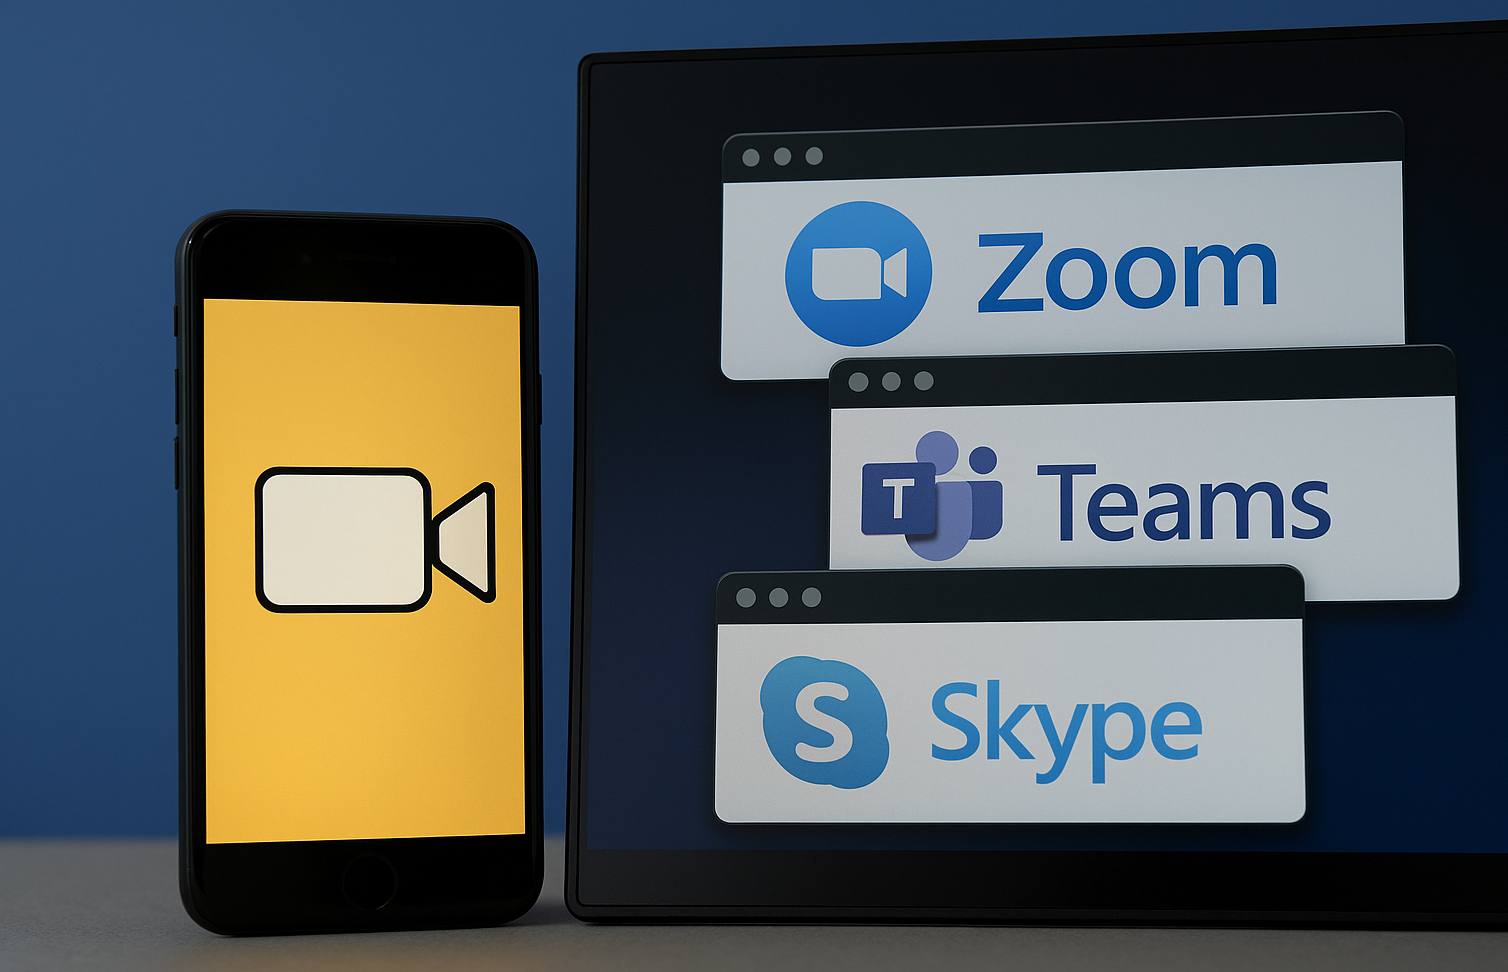
🔧 How to Change Camera Input in Zoom, Teams, and Skype
Setting iVCam as your video input requires just a few clicks – once you know where to look. Here is how it works per platform:
Zoom
Steps to Set iVCam as Your Camera Input:
- Open Zoom and click the gear icon (Settings) in the top right.
- Navigate to Video in the left-hand menu.
- Click the dropdown menu under Camera and select “e2eSoft iVCam”.
Tip: If iVCam is not listed, make sure the iVCam Windows client is running and the phone is connected via USB or on the same Wi-Fi network.
Microsoft Teams
Steps to Use iVCam in Teams:
- Launch Teams, click your profile picture > Settings.
- Go to Devices on the left.
- Under Camera, select “e2eSoft iVCam”.
Heads-Up: Teams sometimes caches previous devices. A quick restart of Teams and the iVCam app can trigger a refresh.
Skype
Switching to iVCam on Skype:
- Open Skype, click the three dots next to your name, and select Settings.
- Click Audio & Video.
- Under Camera, pick “e2eSoft iVCam”.
Pro Tip: Test your video preview here to confirm the connection.
📶 Tips for Keeping a Stable Connection
iVCam is impressively stable over Wi-Fi – but only when your environment cooperates. Here’s how to avoid frustrating dropouts:
✅ Use USB When Possible
While Wi-Fi is convenient, USB is more reliable. Especially if you’re on a congested network or experiencing latency, a wired connection minimizes frame drops and lag.
✅ Stay on the Same Network
If using Wi-Fi, both your phone and PC must be connected to the same router – ideally on the same frequency band (2.4GHz or 5GHz).
✅ Disable Battery Optimization
On mobile, battery-saving modes can interfere with performance. Disable any energy-saving features or background app limits for iVCam.
🔊 Audio Sync Best Practices
Note that iVCam primarily transmits video, not audio. To avoid lip-sync issues:
- Use a dedicated microphone (USB or headset) directly connected to your PC.
- Avoid mixing sources (e.g., phone video + phone mic via Bluetooth) unless latency is calibrated.
- Enable audio delay compensation in OBS or similar software if streaming.
📊 Performance Comparison Table
We tested iVCam’s behavior across platforms under identical conditions—here’s how it stacks up:
| Feature | Zoom | Microsoft Teams | Skype |
|---|---|---|---|
| Setup Difficulty | Easy | Moderate | Easy |
| iVCam Recognition Time | Instant (<5 sec) | Delayed (5–15 sec) | Instant (<5 sec) |
| Video Quality (Wi-Fi) | Smooth (720p/1080p) | Occasional Stutter | Sharp & Consistent |
| USB Stability | Excellent | Excellent | Excellent |
| Audio Sync (external mic) | Aligned | Aligned | Aligned |
| Reconnection (after phone sleep) | Needs restart | Auto-reconnect | Auto-reconnect |
iVCam is a sleek solution for upgrading your video feed, and with a few tweaks, it plays nice with all major platforms. While Zoom and Skype offer the most seamless experience, Microsoft Teams occasionally needs a nudge to recognize iVCam after launching.